It’s no surprise that Revit is a completely different program from something like SketchUp. Unfortunately, there tend to be some habits learned in SketchUp that worked great for the purposes of the program, that just should not be brought over to the Revit world.
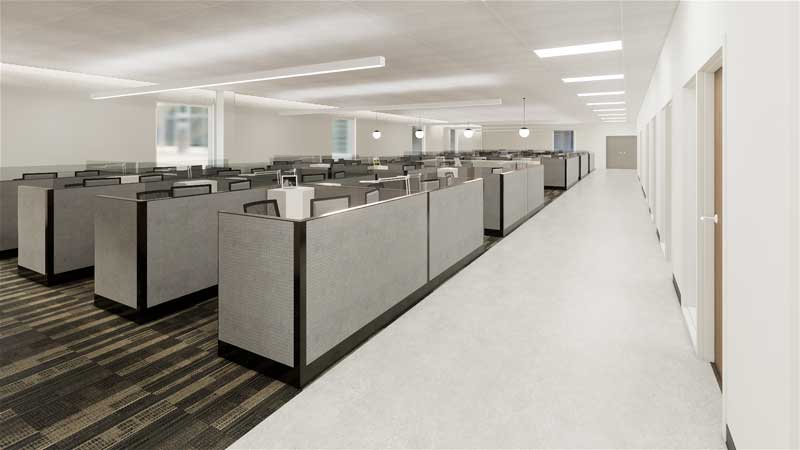
In all my projects, I like to set up a 3D axon view of my entire floor plan(s) for the purposes of visually seeing all of the spaces 3-dimensionally, quickly, and easily. In this view, I will hide ceilings but tend to keep lights shown so I can understand the relationship between the plan and lighting above.
In a recent instance, I happened across a view where orbs were neatly placed in a grid. Thinking there was a lot of decorative lighting, I selected one and found it was part of a group – a much larger group. Looking around further I found other, more typical, light fixtures for that space placed and felt the need to investigate.
Autodesk Revit and SketchUp could potentially do similar things but in very different ways. While SketchUp is more simplistic (and the go-to free program for a poor college student) it lacks the ability to utilize some heavy documentation ability. Don’t get me wrong – I have seen small firms use SketchUp to create actual documents (heck, even the more popular HGTV shows use this tool to show potential design). The problem is, when you get to working on large projects, and need multiple people in the same file at the same time, it’s not so great.
I remember back in the day of college years where I felt like such a master at SketchUp. All of my renderings used the program and I utilized some amazing plugins and was constantly on the hunt in the SketchUp Wearhouse for cool things to add to my views. But, now that I work on commercial and healthcare projects, I really have to use a more efficient tool. In come’s in Revit.
When I first used Revit, let’s just say the prettiness of it’s rendering capabilities was far for lovely. In fact, there was a period of time where I was documenting in Revit, but creating renderings using SketchUp (this is a major no-no!). Not only has Revit upgraded its game in its cloud rendering, but additional plug-ins like Enscape are really taking the program to new heights. In fact, I pretty much model everything in Revit so it’s not only documentation ready, but render-ready as well. (Plus, why do things more than once?!)
Back to the Omni lights situation. Omni lights, especially those used in a grid, were a sneaky way in SketchUp to create an even glow in a space when you couldn’t quite get the space bright enough for a rendering. This might seem like a helpful idea to add to Revit – but why??
The benefit of adding real light fixtures in Revit is the ability to include the color temperature as well as foot-candle (or brightness). This can not only create more realistic renderings but, allows designers (architects, interior designers lighting designers) to understand the amount of light in the space and if any issues could appear.
So, the moral of the story:
Never use an Omni grid;
Always use real lighting in your models.
