I’m waiting for those April showers to begin!
Since I am spending more time at home these days, I am finding myself more involved with my plants. So much so, that even though my small veggie garden has been overrun with leafy greens, I have once again begun to try germinating more seeds.
Cleaning up the garden
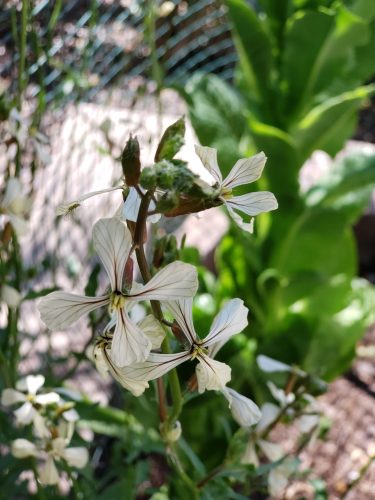
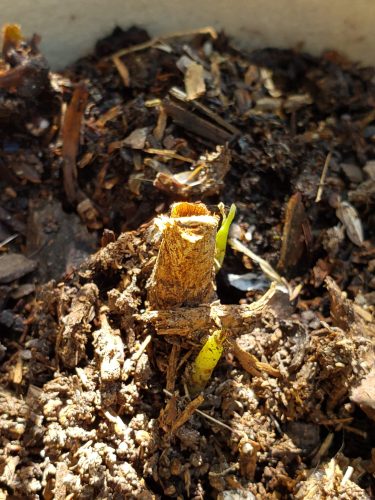
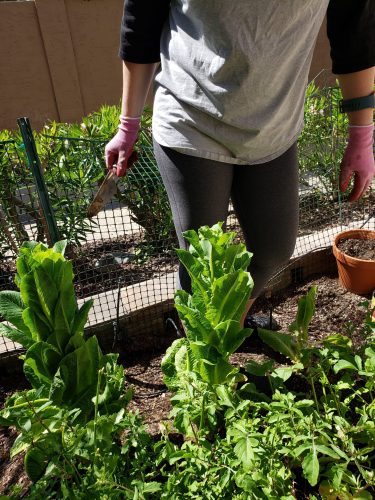
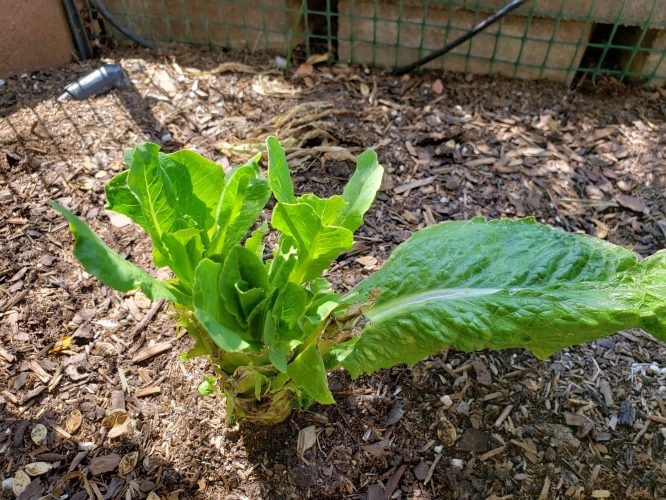
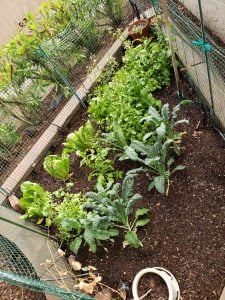
After some nice days in the sun, our garden was looking, like a mini jungle. So, after a number of weeks growing, the start of some lettuces budding, I cut much of them back. At first, I was a little nervous; what if I chopped back too much and I basically killed off the plant? The arugula was acting as a wonderful invitation for bees, and frankly, I didn’t want to lose that. So, I cut back (mostly the arugula) as much as I could without feeling guilty, and left one plant to continue to flower. My intention is to eventually collect the seeds to start again for next year.

New seedlings
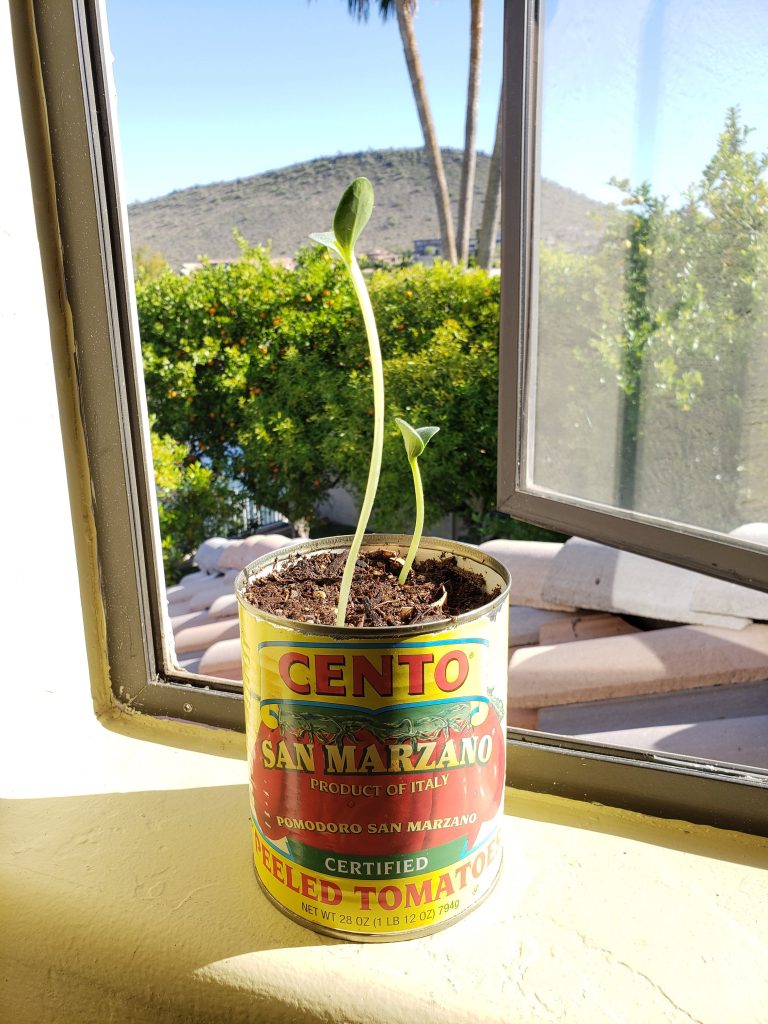
In the last week, I have managed to sprout 2 adorable cucumber seedlings to a few inches tall. Since my seeds (and heating mat) are in the same room as my work from home area, I am able to watch them each day. As they start to grow, I have begun to transfer them to a small soiled can (#reusing). Since our home is embarking on a complete stay at home attitude, we have utilized an old can, poured some small rock at the bottom for drainage, and placed our crushed eggshell starter in it.
With the nice weather last week, I was able to open a window and let them get some sun then place them back on the heating pad in the evening. After 2 days in the can, the seedlings grew to roughly 6″ and I felt it was time to transfer them to the garden. Lucky for me, it was the weekend, which meant more time to play in the dirt!
For the spaghetti squash, after a full week in the heating pan, I am finally starting to see them sprouting.
Protecting the seedlings
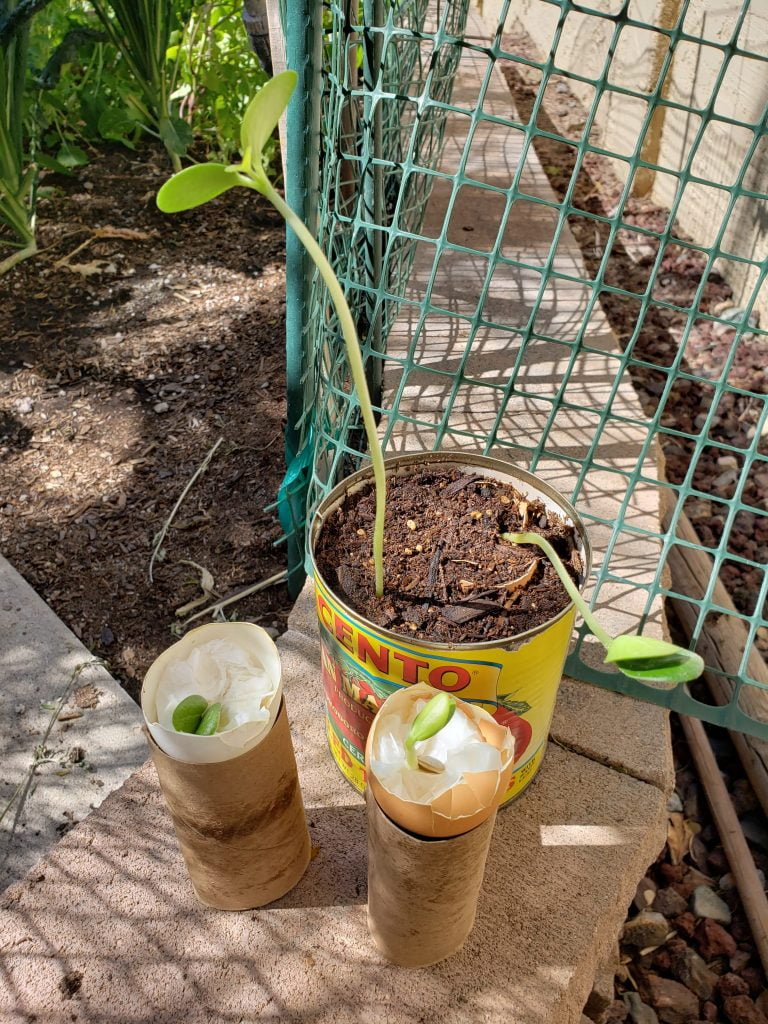
Since I have been having a history of my seedlings getting pulled from the garden, I wanted to try a few things this time around. The first step was making the transfer from heating pan to a small pot to help grow the plants before a large transfer. The next step was figuring out how to protect those seedlings once they were in the ground. So here’s the plan:
Reused 2-liter bottle
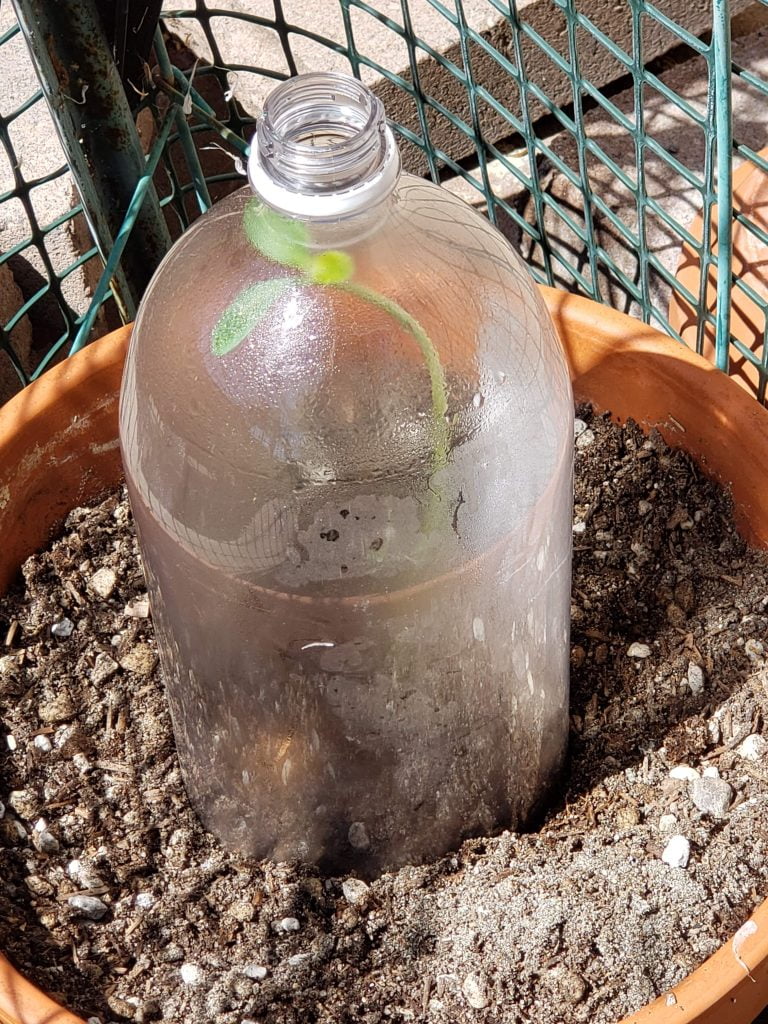
So this isn’t a new technique, but I cut off the bottom of an old 2-liter bottle to act both as a protector and a mini greenhouse for one of my cucumber seedlings. The positive is that it has a nice humid container for this plant while keeping it fully protected above and below the ground. Unfortunately, the height of the bottle is limiting and I worry I will need to check continuously to make sure the plant doesn’t get injured. Additionally, by closing off the plant from the elements, I am limiting its ability to strengthen its vine due to blowing winds.
Reused pastry bin


I realize this is a confusing one, but, I’m willing to give it a try for the sake of not losing more plants to wildlife. After our family ate the pastries, I cut the bottom of the bin and placed it in the garden. By keeping the top and bottom together, I have essentially increased the height of the mini greenhouse and allowed me the ability to open the lid to check on the plants later. Holes have been poked at the top to allow for some air, and allowing an open bottom will help moisture seep to the roots.
Plastic protector screen
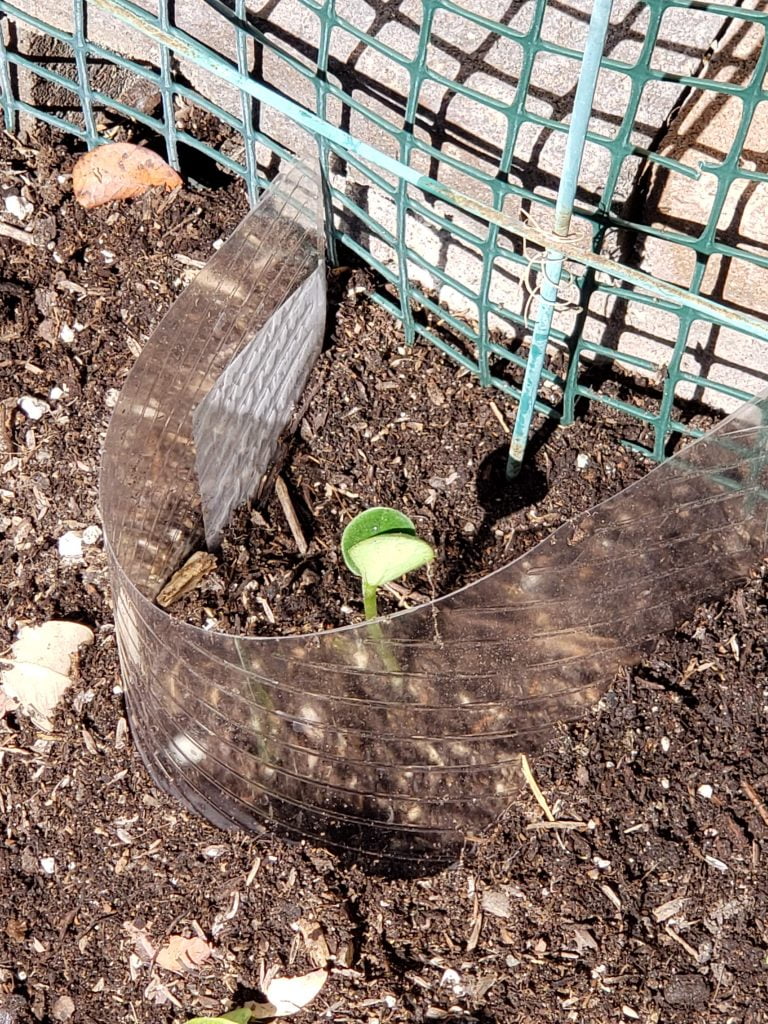
Since I cut out the bottom of the pastry bin, I wanted to try to use the cut-out bottom as a screen for another seedling. Based on what I have seen with past pulled plants, it looked like they had been dug out to reach the seed. So, while this option allowed for the seedling (in this case a cucumber) to be open to the elements, including wind, it should hopefully prevent an animal from wanting to get to the roots. I’ll admit, this technique is the one I am less supportive of since it has the possibility of being knocked over.
Paper towel roll
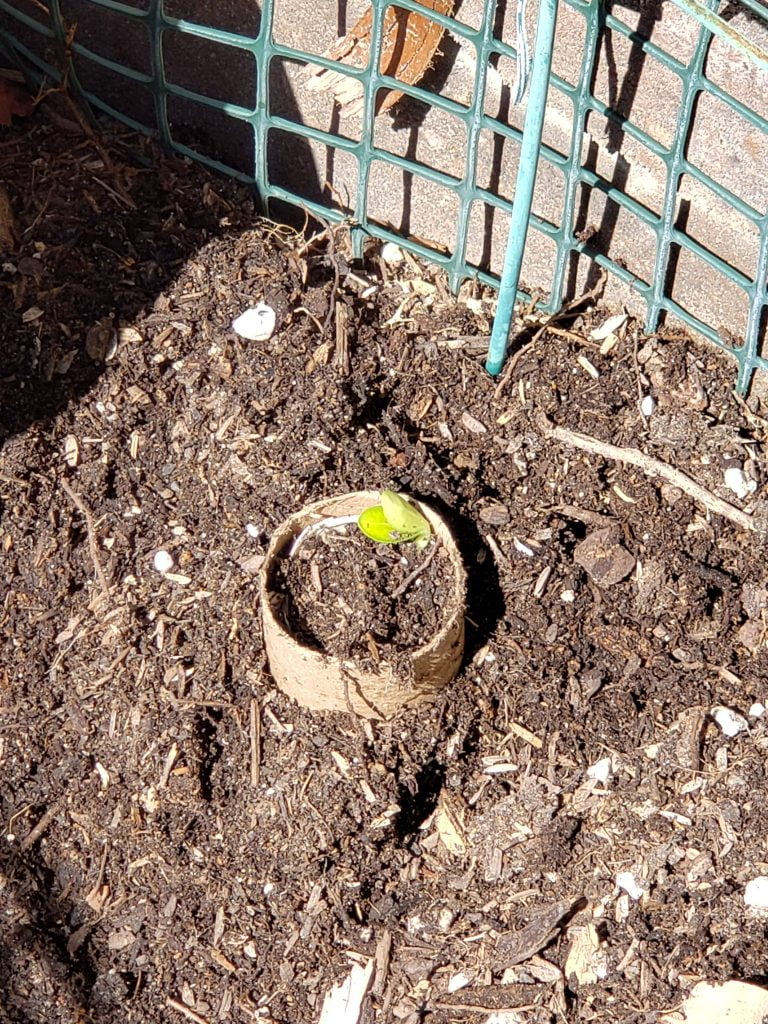
You heard me right. I took a used paper towel roll and rather than soak it and feed it to my worms, I wanted to try to use it as a compostable barrier for my seedling roots. The roll was cut into thirds, and I made sure to totally break up the eggshell for the roots to move down and into the soil. I’m a little iffy on this one, just because of it’s limitations, but hopefully the roll will eventually give way to the roots as the plant grows.
More seeds
Because why not?!
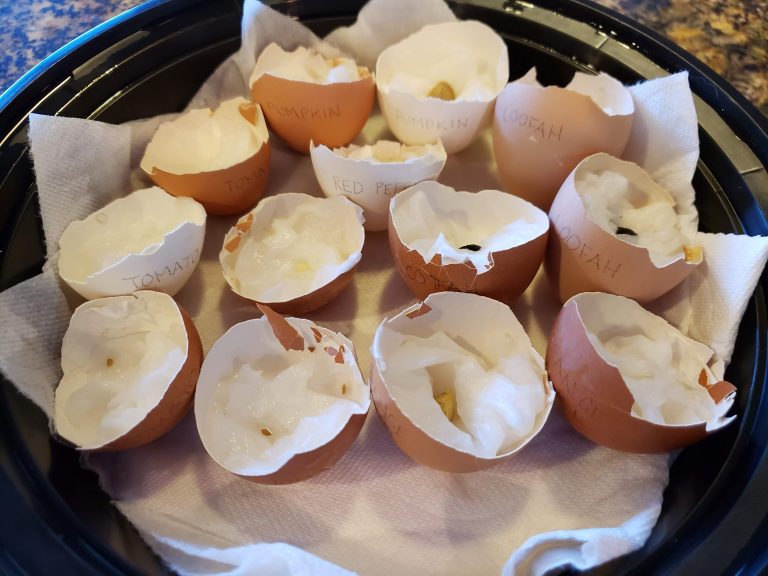
This time around, I took my seed germination technique and actually labeled the eggshells as to what the seeds were; I feel a little silly for not thinking about this sooner but really excited that it was all visible.
Once I have a few takers, I will find where they can live. The bonus is, now that I am trying a few protection techniques, they should all manage to survive!
New seeds include:
- Tomato
- Pumpkin
- Loofah (because I am determined!)
- Red pepper (from a plant we ate)
- Citrus (seeds from our Navel orange tree)
In other Garden News
