When we left off from the master closet, there was no floor. Well, no carpet, just the underlayment remained. But this next step, pretty much changed the game plan for the rest of the house, entirely!
Let’s start from the simplest idea in this room:

Base boards
In the last post about the master closet, I had mentioned that we removed all the base, and we were very careful with each piece, not simply because we were limiting the number of splinters, but because we were going to place it back in place. This was going to be our easy DIY fix.
- Remove the base
- Clean the base
- Repaint the base
- Reinstall the base
In fact, I managed the first two steps!
But, alas, all that hard work cleaning and it was decided to change things up bit. We knew the rest of the house wanted a baseboard update; initially, the master closet was going to be so small, and the base mostly hidden that it wouldn’t matter if it was the old base or not . . . until the Mr. and I decided that yes, new base would look lovely in there!
So, we filed the old base away for a later time/use and moved forward with the room.
Because we still took the time and care to removing and cleaning the baseboards, there were still a number of tools used (thankfully they were all previously owed so it didn’t really cost us anything – otherwise I would be totally bummed).
Tools used:
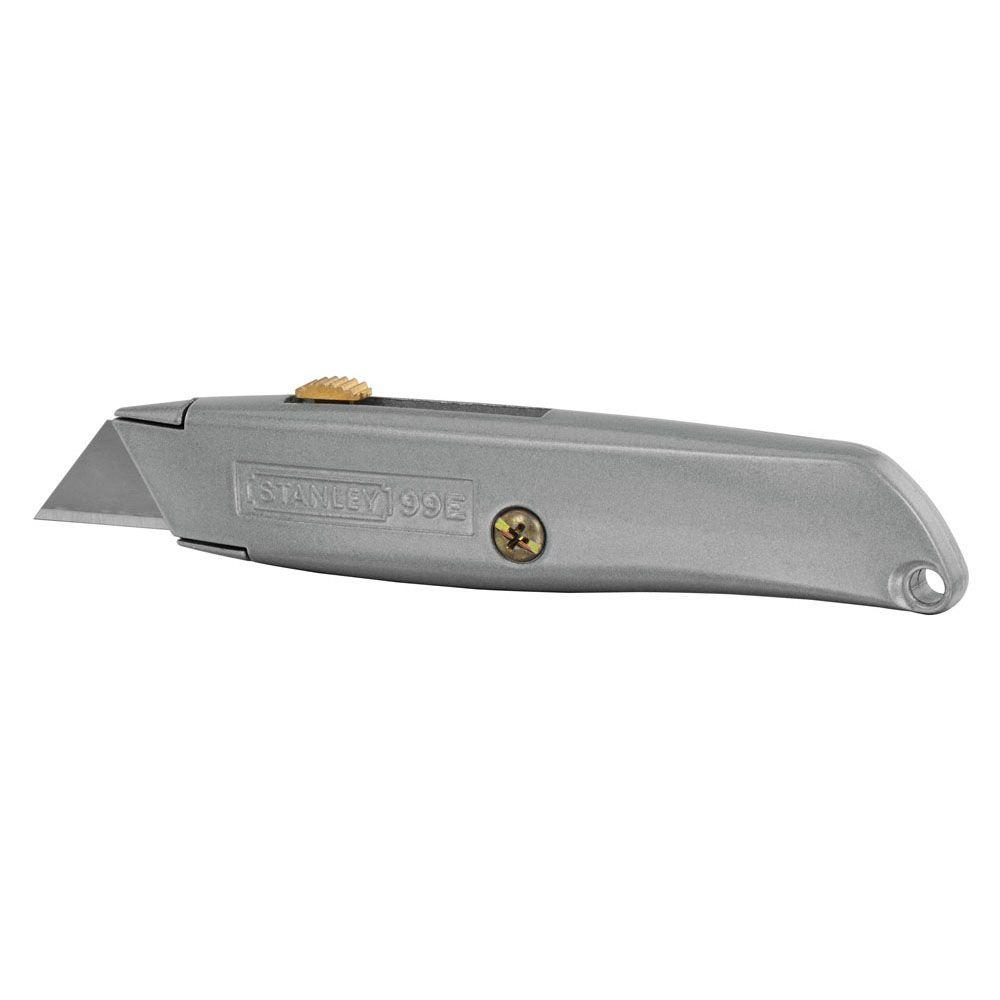 | Utility knife | (previously owned) $0 |
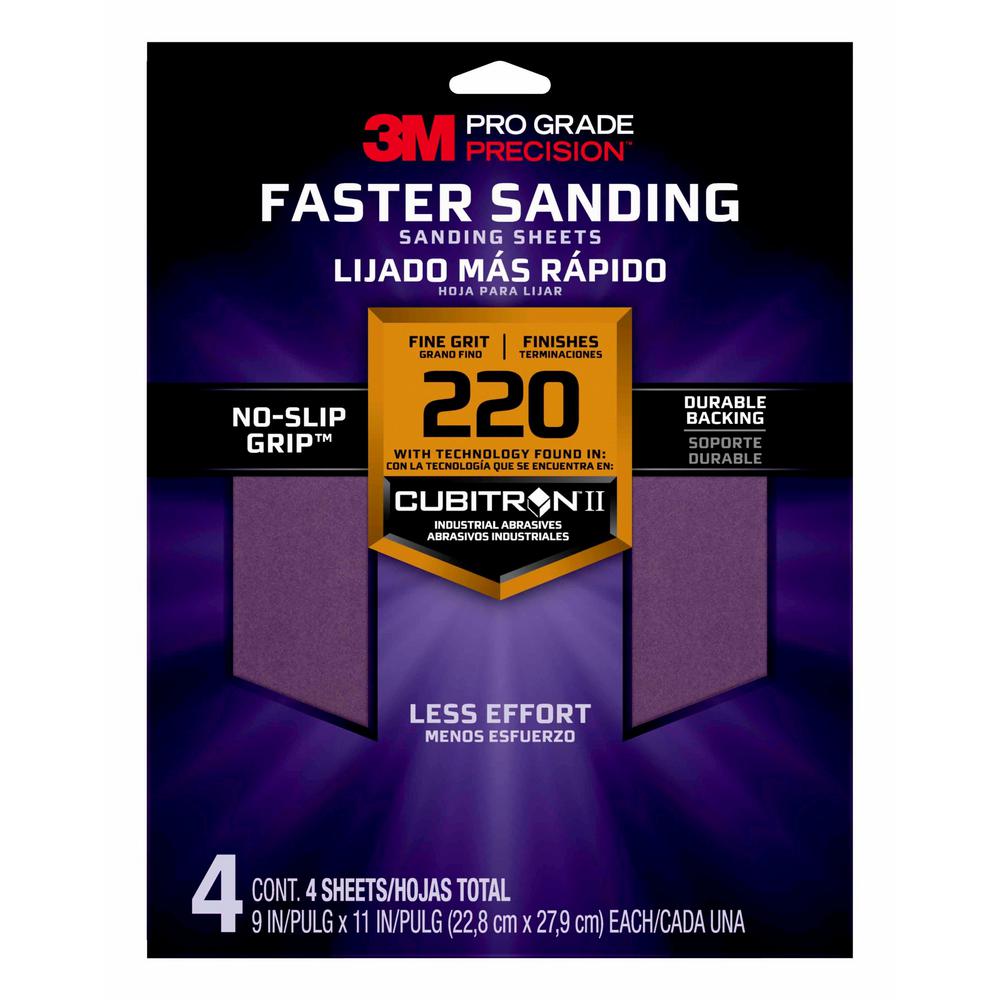 | Sanding Sheets (220 and 180) | (previously owned) $0 |
 | End Cutting Pliers | (previously owned) $0 |
| Total Cost | $0 |
Wall prep, that (almost) broke the bank
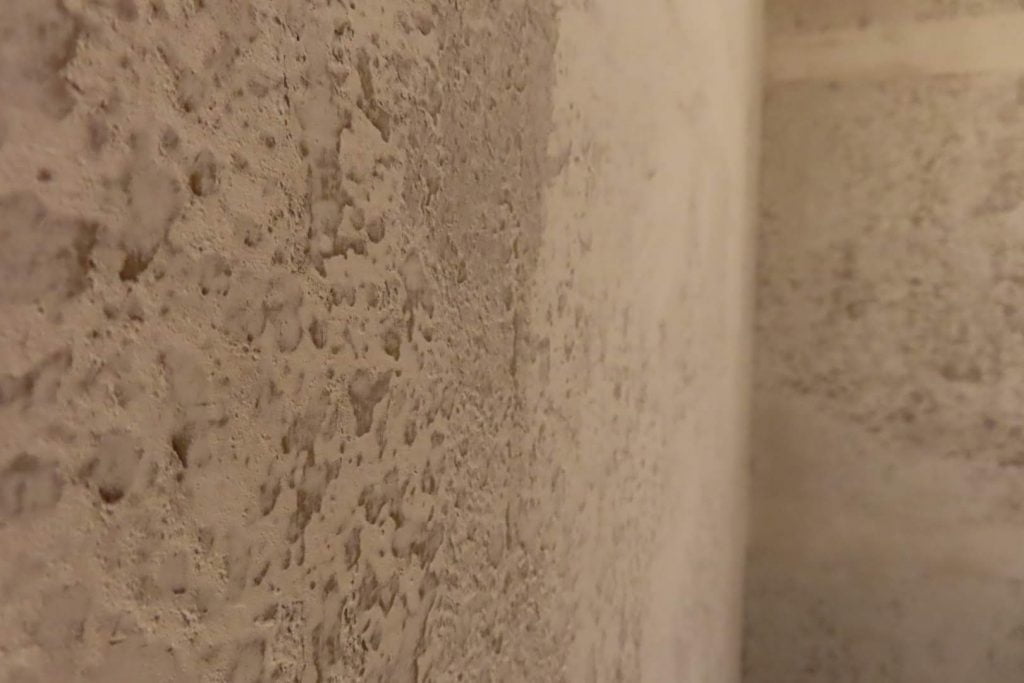
Coming from Project: Red, the walls of the home were smooth and beautiful. The Mr. and I used a stencil in the dining room to create a texture that I absolutely loved and am excited to repeat! The problem is… southwest homes don’t typically have smooth plaster on the walls – they go for the slapped on look (I guess to mimic stucco even in the interior?). You can imagine where this is going . . . I wanted smooth walls.
Luckily, rather than using the green room as our testing room (like it was originally planned), we opted for the master closet (in the event we totally messed something up!).
So, let’s discuss what we did.
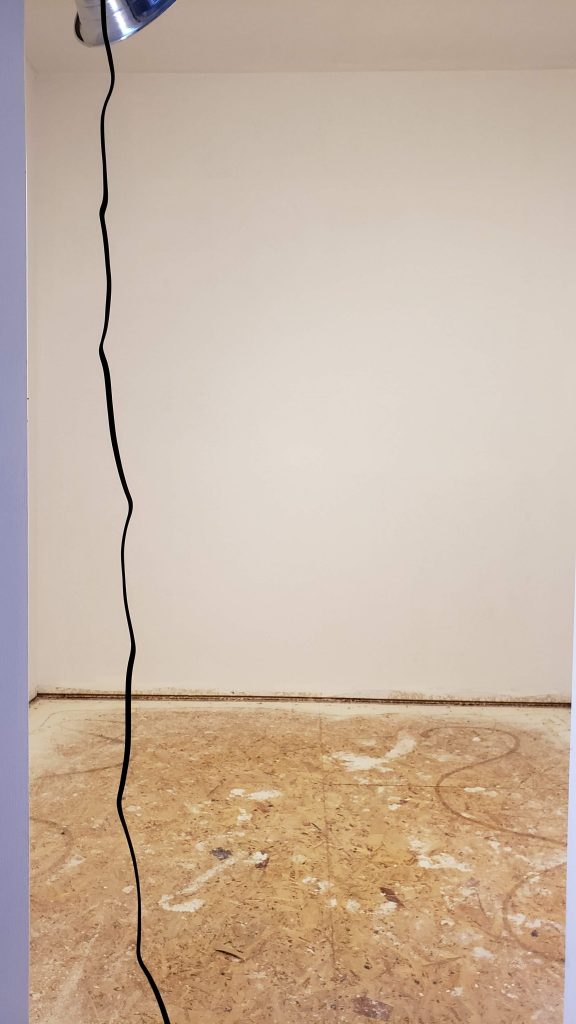
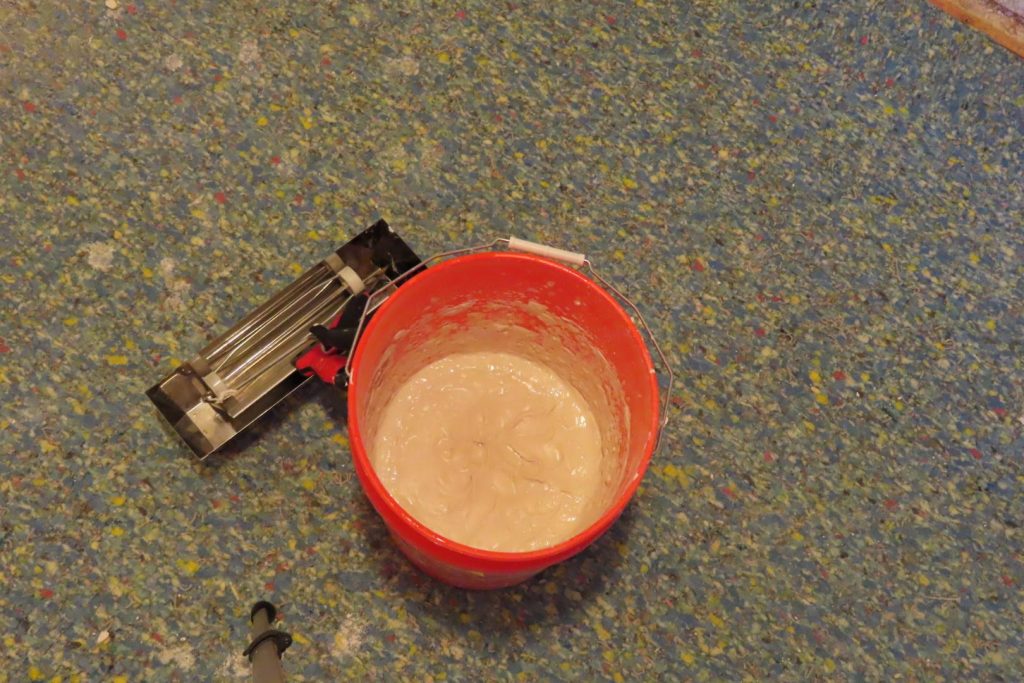
First, we had to learn how to skim coat, and thanks to the wonderful world of YouTube, we did just that. We made attempts with using just the trowel, as well as a nifty little technique to roll the skim coat on with a thickly-napped roller. Had we know how fast to work, I think the roller was a much better option.
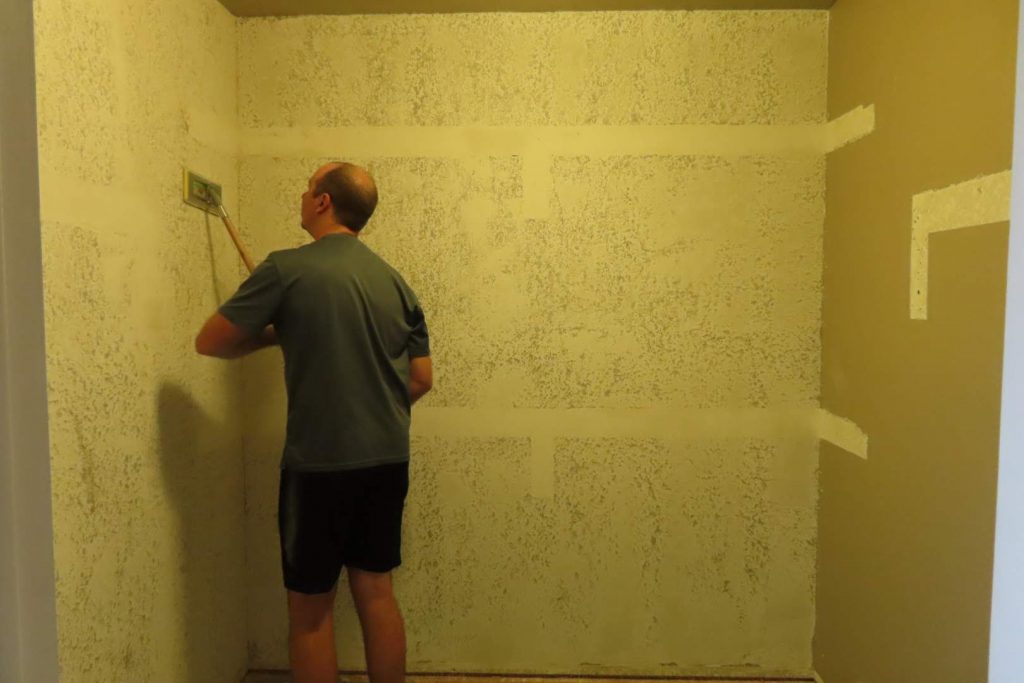
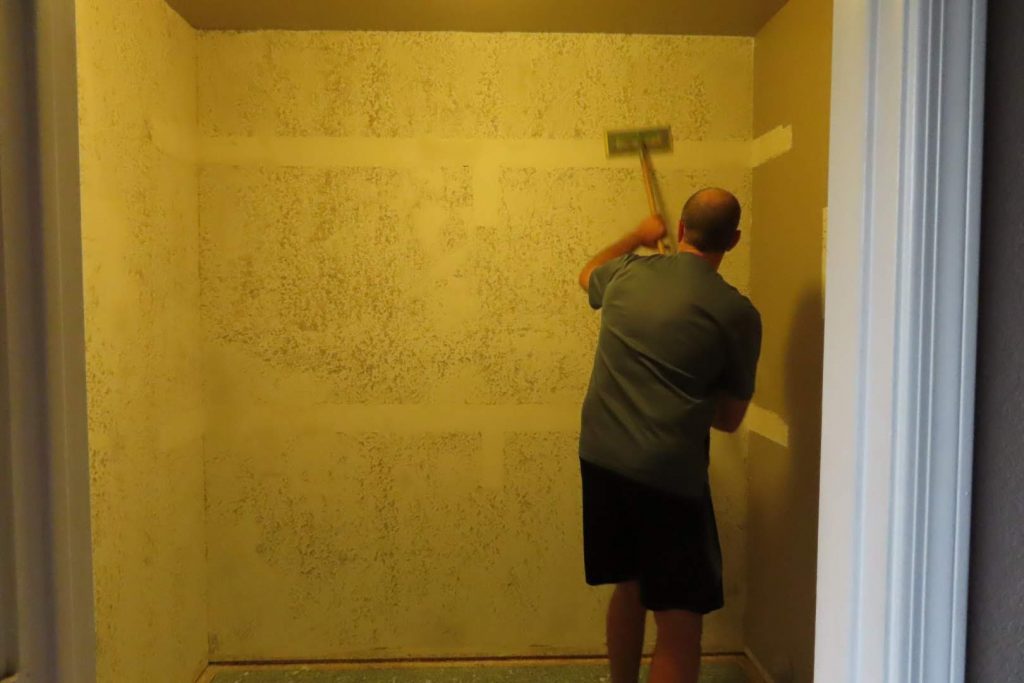
Once the layer was on, and we had skimmed the excess off, we waited for the walls to dry so we could sand it all down. I think this is the point I realized that skim coating the entire house was not going to something I was ready to do – but a girl can dream!
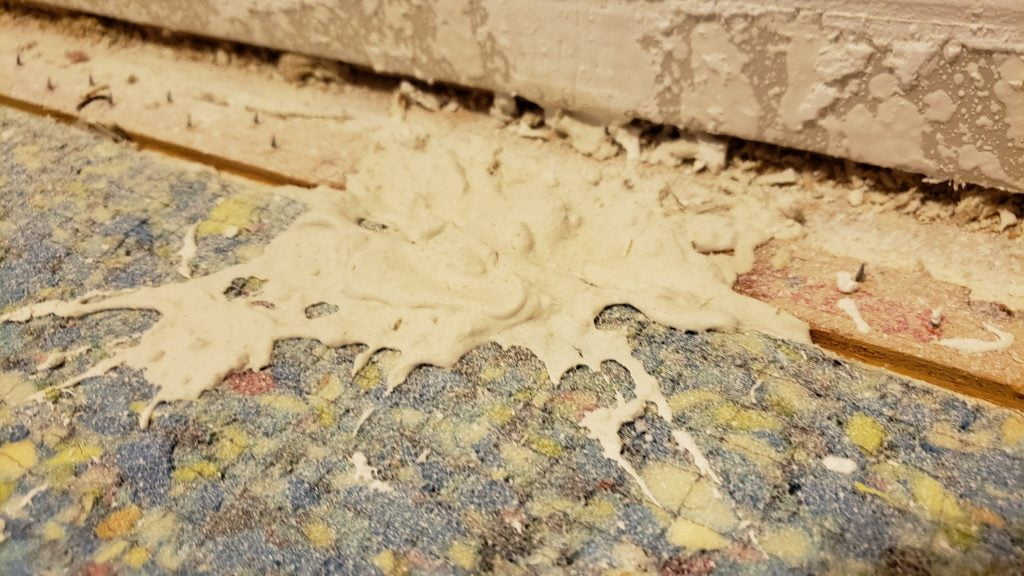
And the prep was it! In hindsight, skim-coating isn’t all that bad, I would just need more practice at it . . . because yes, I did make a few messes. Since we had the carpet underlayment still down, it was an easy clean.
After we finished the skim coat, we primed. And primed. And I think there may have been one more layer of prime before we called it quits. I could have done a layer of paint after that, but frankly, I was so over this room and ready to move forward, we left it light, white, and bright.
But, once the walls were done, the best was yet to come!
Tools used:
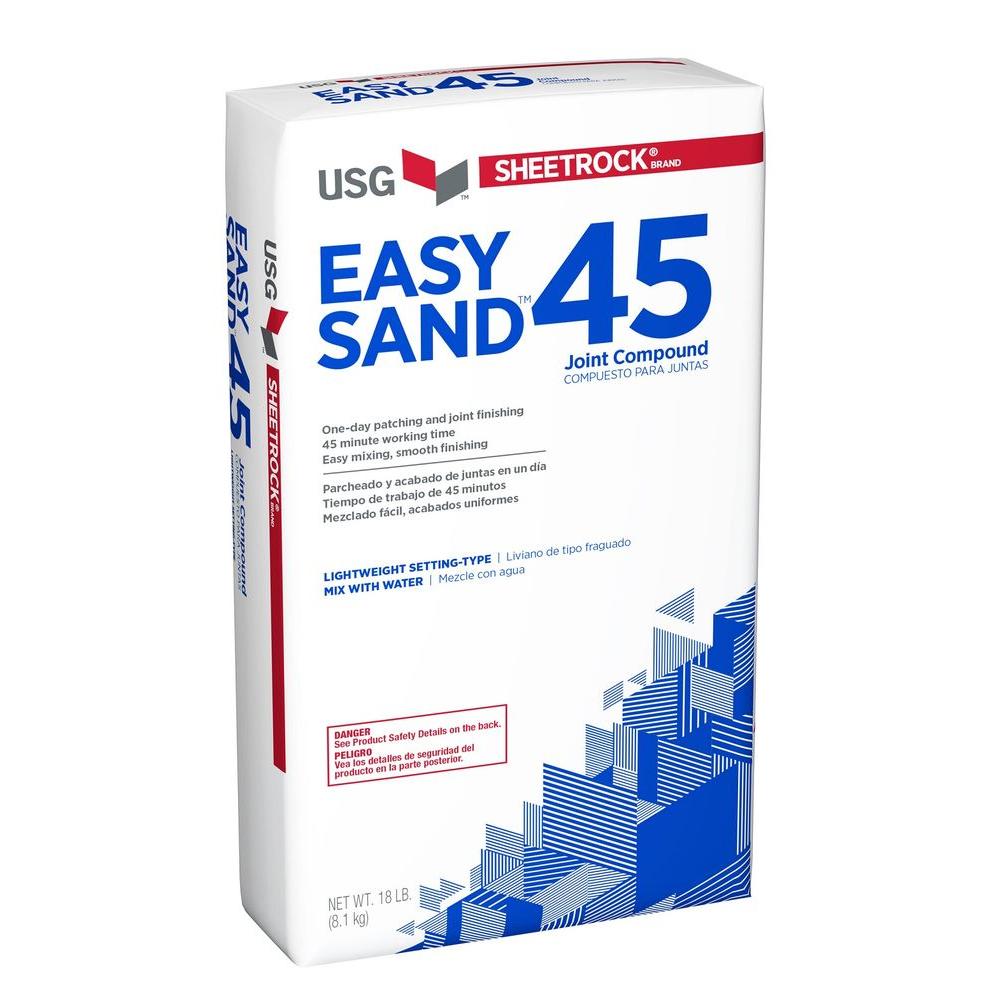 | Setting-Type Joint Compound | $10 |
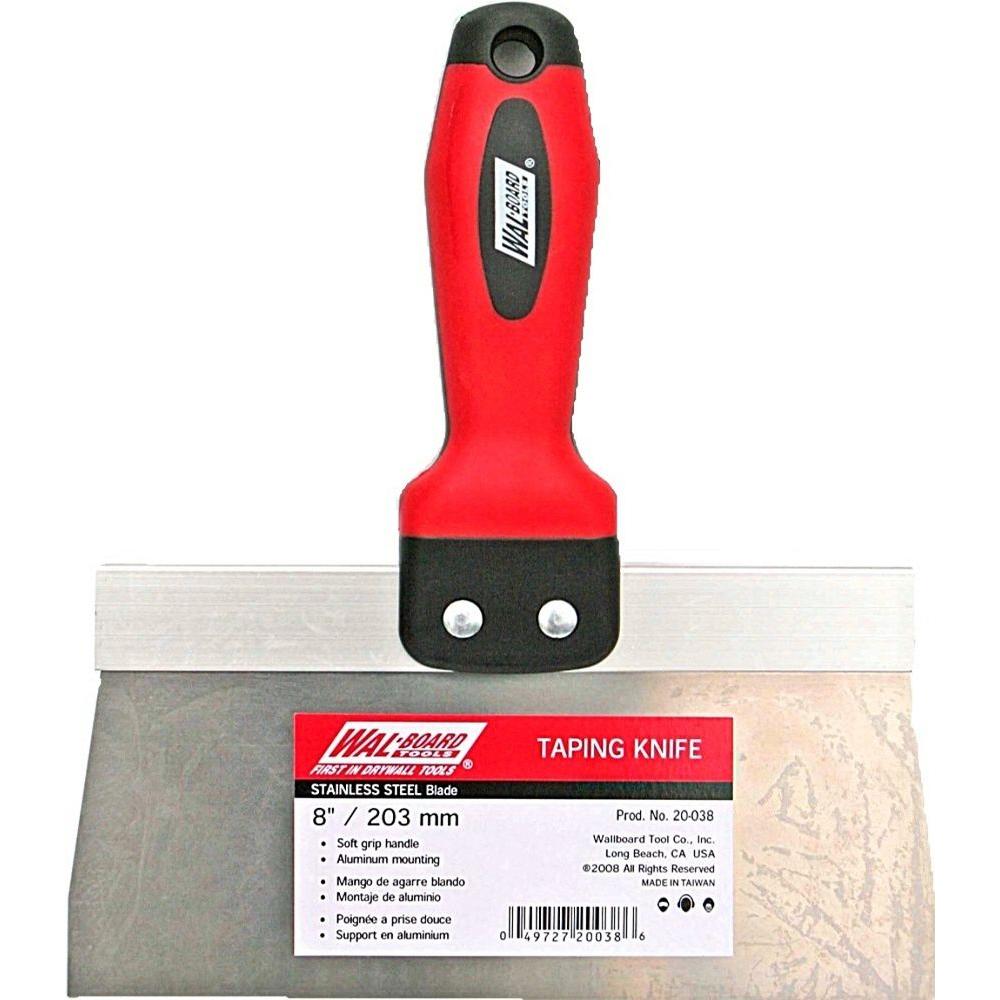 | Blade Taping Knife | $10 |
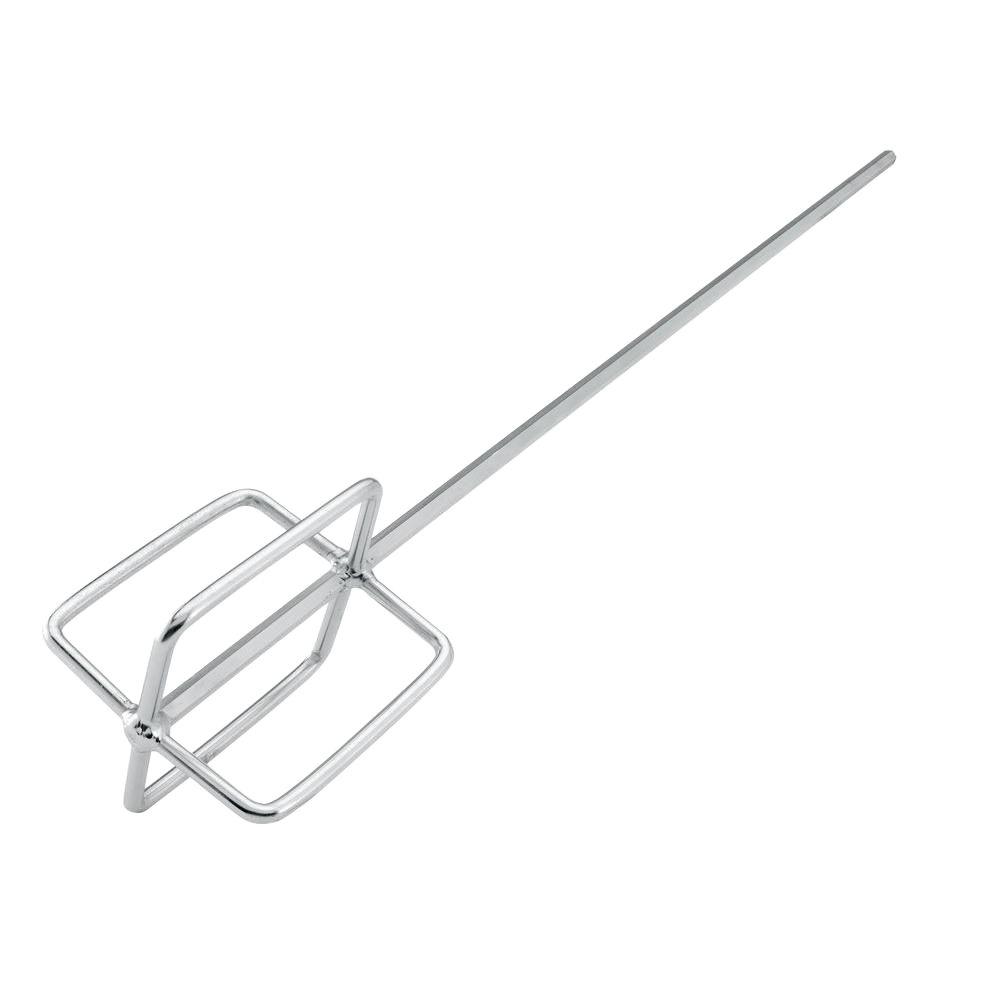 | Thinset and Grout Mixer Mixing Paddle | $15 |
 | 5 Gal. Homer Bucket | $5 |
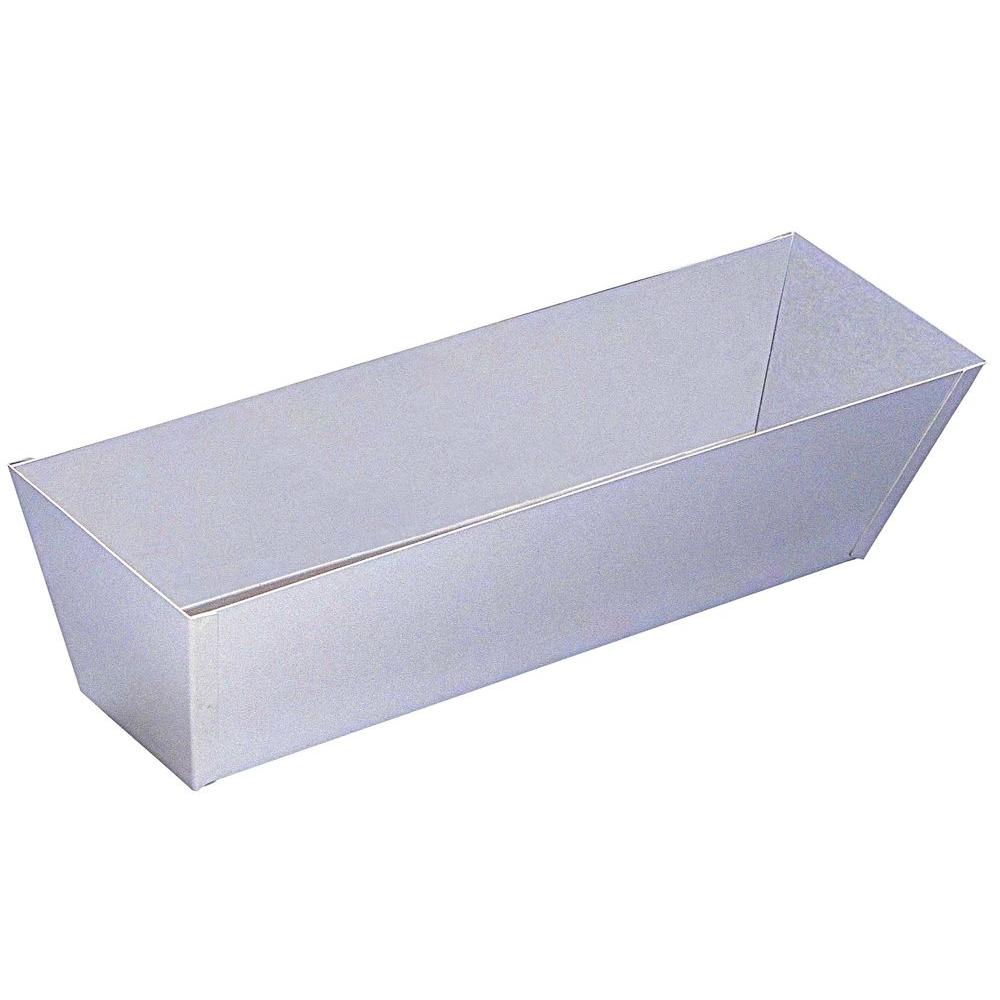 | Mud Pan | $13 |
| Total cost | $53 |
$235
Running cost for the Master closet

